Easy Free Christmas Garland Crochet Pattern for Home
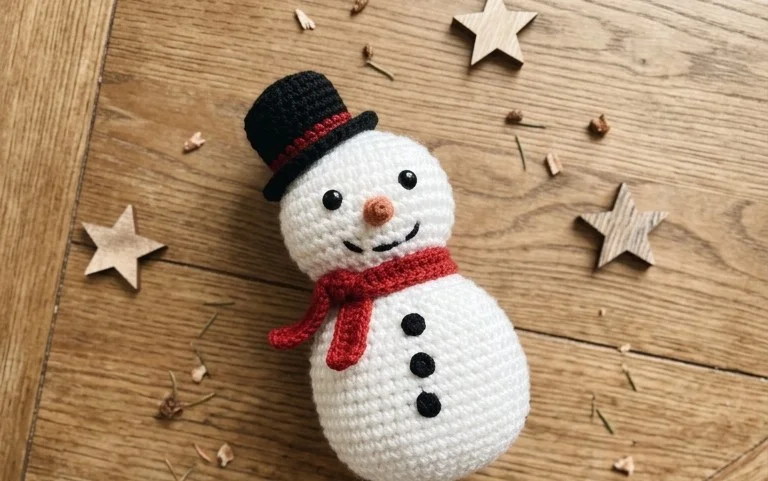
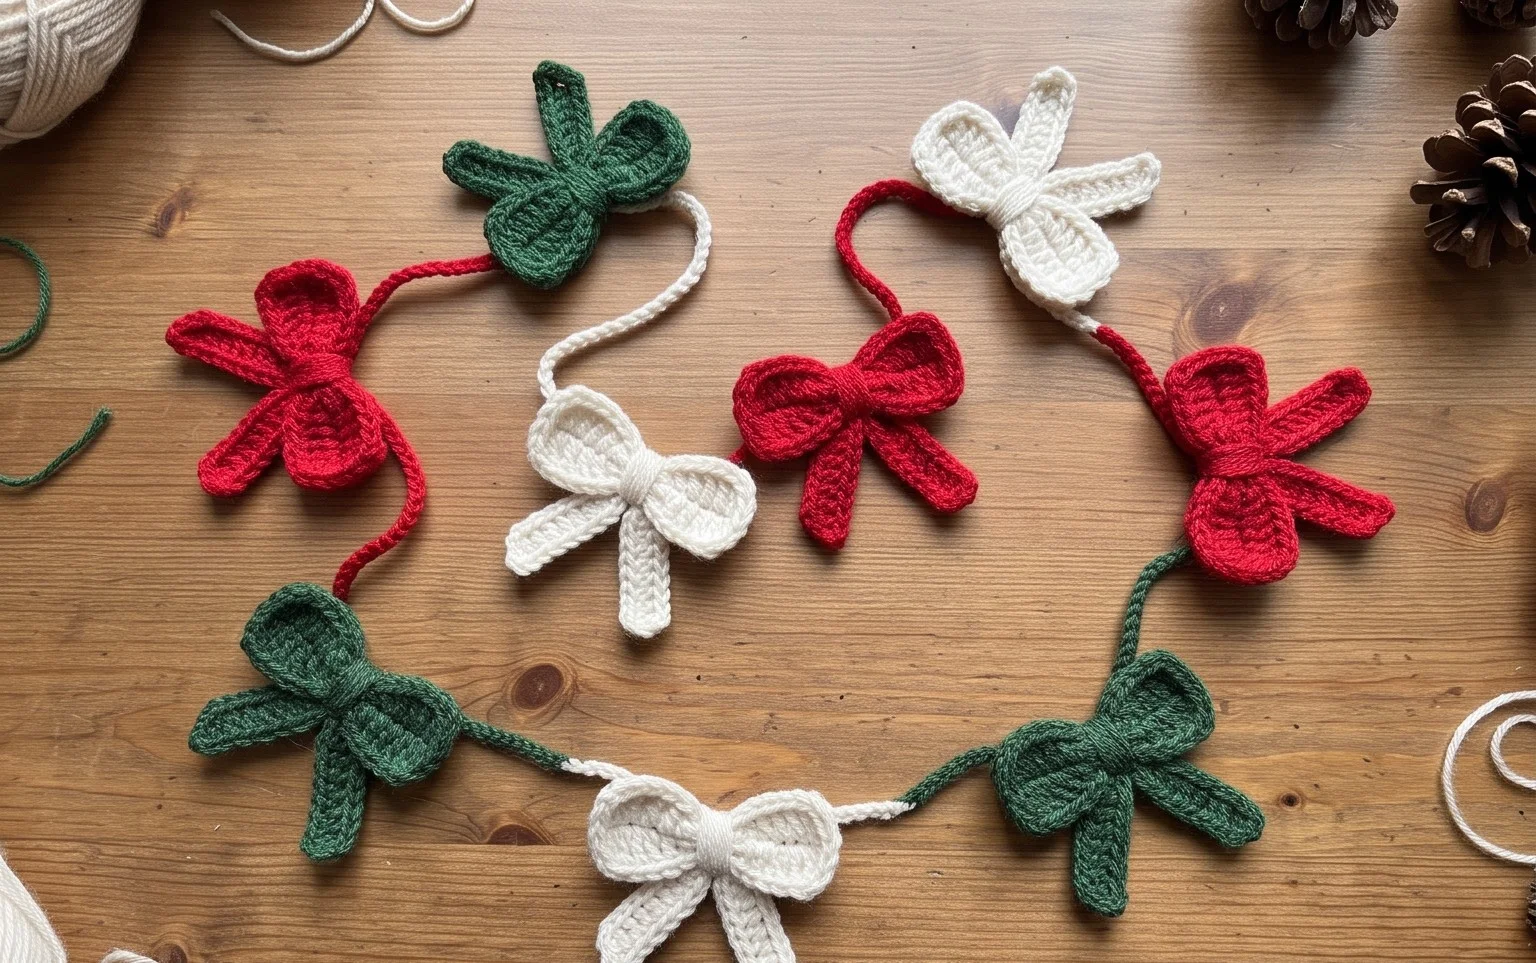
Soft crochet stars in classic red, green, and cream bring a handmade touch to a mantel, window, or tree. This Christmas garland is light enough to drape without pulling at its hooks, and the cotton stitches give each little motif a clear shape you can feel between your fingers. Beginners can practice chains and simple single crochet while making a row of decorations, and gift makers can adjust the colors to suit someone else’s home. The repeating work is satisfying to pick up for a few minutes at a time, then watch grow into a full strand. In this pattern, you’ll learn how to crochet the small motifs and connect them with a chain so they hang evenly. A few finishing tips help keep the stars flat and the garland ready to display.
Why You’ll Love This Pattern
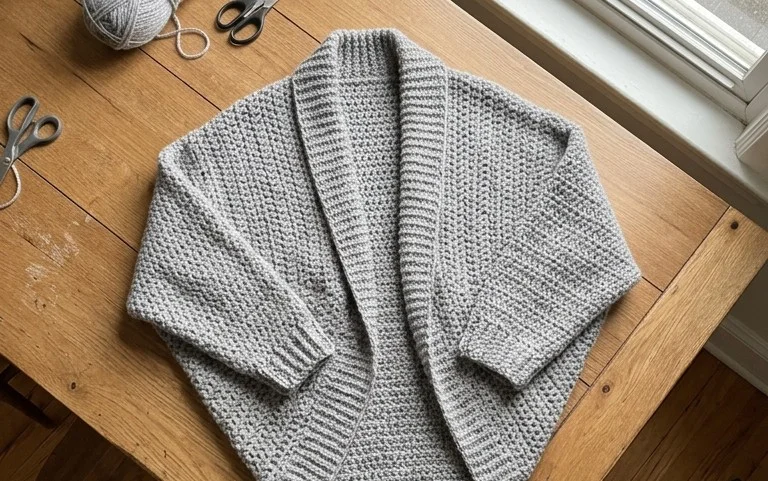
A firm cotton fabric and simple single crochet stitches make this dishcloth useful for everyday washing and wiping. The pattern is worked flat in rows, so you do not need to join rounds or sew pieces together. Its steady stitch pattern also makes it easy to pick up again after a break.
This is a practical first project for someone learning to keep an even edge, and it uses about one small skein of cotton yarn. Make it for your own kitchen or as a handmade gift. The finished cloth is approximately 25 × 22 cm, a handy size for washing dishes without feeling bulky in the hand.
I made mine in an afternoon, and the rows were easy to keep track of. The cotton feels sturdy after washing.
— Jenna, home crocheter
Pattern Overview & Skill Level
- Skill Level: Beginner. You need to chain, single crochet, turn your work, and fasten off.
- Approximate Time: 2–3 hours, depending on your pace and how often you stop to check your stitch count.
- Construction: One flat rectangle worked back and forth in single crochet rows. There is no seaming or separate edging.
- Finished Dimensions & Sizing: Approximately 25 × 22 cm after washing and drying flat. The cloth is designed for everyday kitchen use.
Materials & Supplies Needed
- Yarn: About 90–110 yd of worsted-weight (#4) 100% cotton yarn. One color is enough; choose a shade that will show the stitches clearly.
- Hook: 5.0 mm / H-8 crochet hook. If your stitches are unusually tight, try a 5.5 mm / I-9 hook and check the finished width.
- Notions: Tapestry needle for weaving in the yarn ends, scissors, and a ruler or measuring tape. A stitch marker is optional for marking the first stitch of a row.
- Substitutions: Cotton or a cotton-dominant yarn is a good choice because it absorbs water and tolerates regular washing. A similar-weight cotton blend can work, but it may feel softer or stretchier. Acrylic is less absorbent and may not be as useful for dishwashing. Changing yarn weight or hook size will change the cloth’s dimensions and may change how much yarn you need.
Stitch Guide & Abbreviations (US Terms)
- ch = chain.
- sc = single crochet. Insert the hook into the stitch, yarn over and pull up a loop, then yarn over and pull through both loops on the hook.
- st = stitch.
- rep = repeat.
- Fasten off = cut the yarn, leaving a tail, and pull the tail through the loop on the hook to secure it.
The turning chain at the start of each row does not count as a stitch. Work the first single crochet into the first stitch of the row, directly below the turning chain.
Step-by-Step Pattern Instructions
Dishcloth
- Foundation: Ch 36. Keep the chain relaxed so the bottom edge does not pull in. (36 ch)
- Row 1: Sc in the second ch from the hook and in each ch across. Turn. (35 sts)
- Rows 2–35: Ch 1, sc in each st across, then turn. Repeat this row 34 times. Each row has 35 sts. Do not work into the turning chain.
- Finish: After Row 35, fasten off, leaving a tail of about 15 cm. Thread the tail onto a tapestry needle and weave it through several stitches on the wrong side. Change direction once before trimming the excess. Weave in the foundation tail the same way.
Check and Finish
Lay the cloth flat and measure it before blocking. With the suggested gauge, it should be close to 25 × 22 cm. If the edges look uneven, dampen the cloth, smooth it to a rectangle, and let it dry flat. A small difference in size is normal for a handmade dishcloth.
Care & Washing Instructions
- Wash cotton in a machine or by hand using warm water, up to 40°C, unless the yarn label gives a lower limit.
- Dry flat or tumble dry on low heat; avoid high heat, which can shrink some cotton yarns.
- Reshape the damp cloth into a rectangle and let it dry flat; blocking is optional for this practical item.
Pro Tips & Common Mistakes to Avoid
- Keep the first and last stitches clear. The turning chain does not count as a stitch, so place the first sc in the first actual stitch. Missing that stitch can make the cloth narrower with each row.
- Count before turning. Check for 35 stitches at the end of each row. If you lose track, place a marker in the first stitch to help locate the row edge.
- Use an even, relaxed tension. Tight chains can make the foundation edge shorter than the rest of the cloth. If that happens, try making the foundation chain with a larger hook, then switch back to the 5.0 mm hook for Row 1.
- Adjust size by changing the starting chain or row count. Add or remove chains to change the width, and work more or fewer rows to change the length. Larger dimensions use more yarn; keep the chain count odd so Row 1 still gives the intended stitch count of one fewer than the number of chains.
Frequently Asked Questions
Can I use a different yarn for this dishcloth?
Yes. A cotton yarn close to worsted weight is the most useful substitute because it absorbs water and is easy to wash. A thinner or thicker yarn will change the finished size, so make a small swatch if you want to check the fabric before starting.
How can I make the cloth larger or smaller?
Change the foundation chain to adjust the width and change the number of rows to adjust the length. The pattern’s foundation chain has 36 chains and produces 35 stitches in Row 1. Keep counting the stitches in your own first row, then work that same number across every later row.
Is this pattern suitable for a first crochet project?
Yes. It uses only chains and single crochet stitches, and the flat construction avoids shaping and seaming. The main thing to watch is the first and last stitch of each row, since missing one can make the sides slope inward.
May I sell dishcloths made from this pattern?
Check the designer’s terms before selling finished items, and follow any credit or listing requirements. If you sell the cloth, describe the yarn accurately and include its care instructions so buyers know how to wash it.
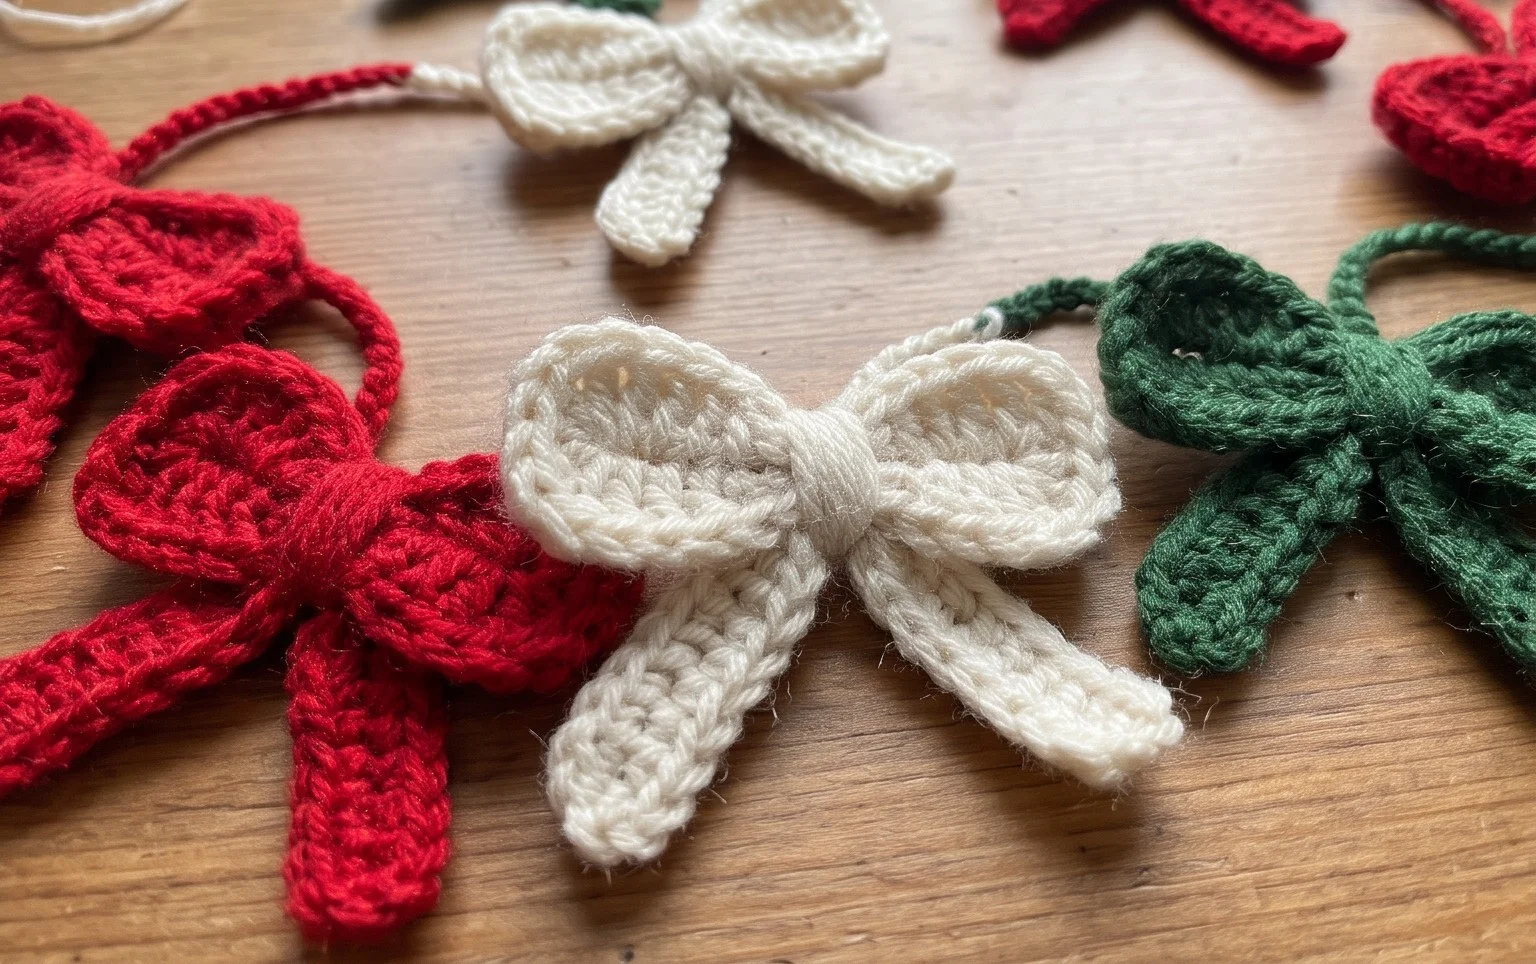
Your finished garland brings a row of handmade stars to a mantel, shelf, or Christmas tree, and each motif gives you a small reminder of the time spent making it. For a simple variation, work the stars in one color of cotton yarn for a quieter look, or alternate two shades to match your decorations. Before hanging it, lay the strand flat and adjust the spacing so the motifs sit evenly. If you make one, share a photo on Pinterest or your favorite social media account; seeing different color choices is always lovely. You can also explore more free crochet patterns on the blog for another small project to work on during the holiday season.