How to Crochet Star Stitch: Free Beginner Pattern & Video
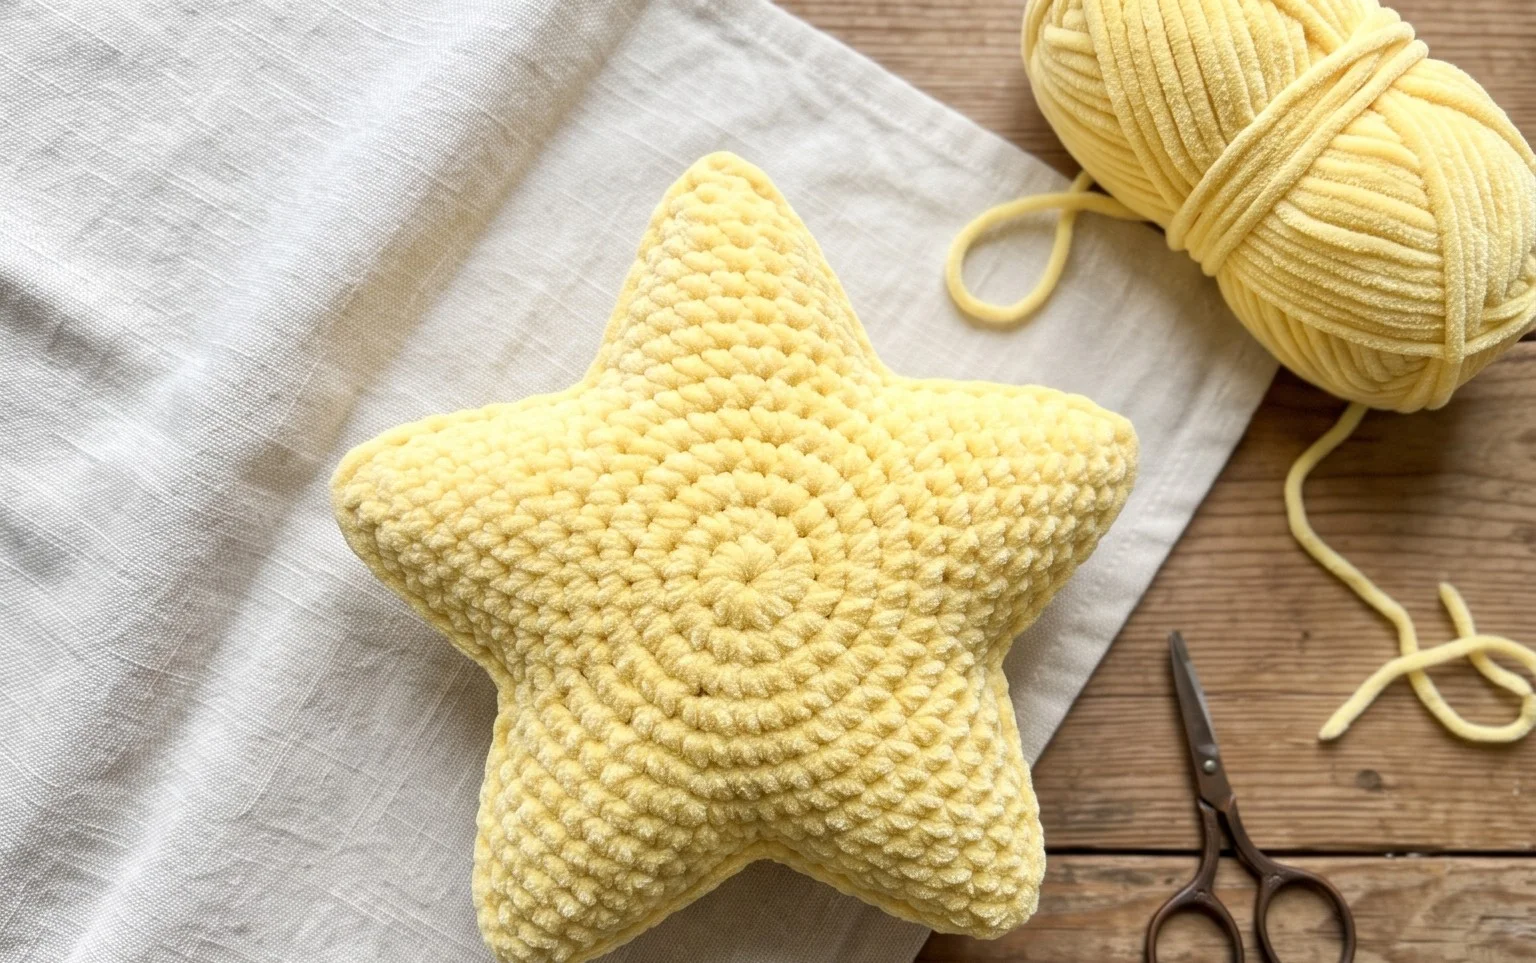
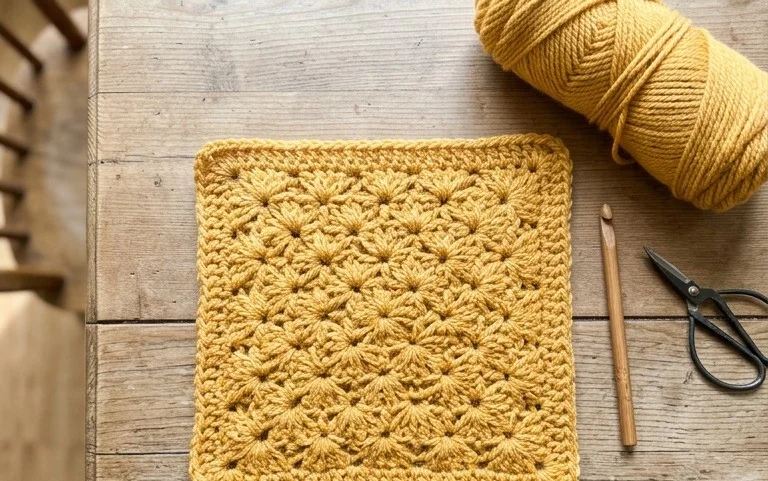
The star stitch creates a dense, beautiful texture that mimics small floral clusters across your fabric, making it a favorite for blankets, washcloths, or even sturdy home accessories. Beginners often find this stitch intimidating because of the multiple yarn loops held on the hook at once, but the rhythmic pull-through technique becomes second nature after just a few practice rows. This project is a rewarding way to build your crochet confidence while creating a professional-looking item that holds its shape well. Follow along with the included video guide to master the specific hook movements needed to achieve perfectly symmetrical stars every time.
Why You’ll Love This Pattern
The Classic Crochet Storage Basket is a functional home essential that provides a firm, structured shape for organizing yarn, craft supplies, or small household items. Because it is worked with a dense stitch pattern using a smaller hook than typically recommended for the yarn weight, the fabric holds its shape without needing cardboard or wire inserts. You will appreciate the speed of this project, as the thick cord or heavy-weight yarn allows you to complete the base and sides in a single afternoon. It is an ideal project for practicing consistent tension and learning to work in a continuous spiral without visible seam lines.
This basket pattern is my go-to for quick gifts. It works up incredibly fast and the final result is stiff enough to hold its shape perfectly on my shelving unit.
— Sarah, home organizer
Pattern Overview & Skill Level
- Skill Level: Beginner
- Approximate Time: 2 to 3 hours
- Construction: Continuous rounds worked from the center base outward, transitioning to vertical sides
- Finished Dimensions: 8 inches in diameter and 6 inches in height
Materials & Supplies Needed
- Yarn: Super Bulky (#6) cotton or polyester macramé cord, approximately 200 yards in a neutral tone.
- Hook Size: 8.0 mm (L-11).
- Notions: Stitch marker to track the start of rounds, tapestry needle for weaving in thick ends, and a pair of sharp scissors.
- Yarn Substitutions: You may use two strands of worsted weight (#4) cotton held together as a direct substitute. Using a lighter weight yarn will result in a smaller basket and a softer, less structured finish.
Stitch Guide & Abbreviations (US Terms)
- ch = chain
- sc = single crochet
- inc = 2 sc in the same stitch
- st = stitch
- sl st = slip stitch
- BLO = back loop only (insert hook under the back loop of the V-shape of the stitch)
- MR = magic ring
The Back Loop Only Technique
Working in the BLO is what creates the distinct “shelf” or crease where the base meets the side walls. Instead of inserting your hook under both loops as you would for a flat circle, you will push the hook only through the loop furthest from you. This encourages the fabric to turn upward naturally.
Step-by-Step Pattern Instructions
Basket Base
- Rnd 1: Start with a MR, work 6 sc into the ring. (6 sts)
- Rnd 2: Work 2 sc in each st around. (12 sts)
- Rnd 3: 1 sc, inc repeat 6 times. (18 sts)
- Rnd 4: 1 sc, inc, 1 sc repeat 6 times. (24 sts)
- Rnd 5: 3 sc, inc repeat 6 times. (30 sts)
- Rnd 6: 2 sc, inc, 2 sc repeat 6 times. (36 sts)
- Rnd 7: 5 sc, inc repeat 6 times. (42 sts)
- Rnd 8: 3 sc, inc, 3 sc repeat 6 times. (48 sts)
Basket Sides
- Rnd 9: Working in BLO, sc in every st around. (48 sts)
- Rnd 10-18: Sc in both loops for every st around. (48 sts)
- Final Rnd: Sl st in each st around to create a clean, reinforced edge. Fasten off and weave in the end securely.
Care & Washing Instructions
- Spot clean with a damp cloth and mild soap for minor spills or dust.
- If a full wash is necessary, submerge in cool water with gentle detergent, avoid wringing the fabric, and lay flat on a towel to air dry.
- Reshape the basket by pressing it firmly against a flat surface while it is slightly damp to ensure the bottom remains level.
Pro Tips & Common Mistakes to Avoid
- Tension Management: Because you are using a thick cord, your hands may tire quickly. Take frequent breaks to relax your grip, as tight tension is helpful for structure but can cause wrist strain.
- Stitch Tracking: Always move your stitch marker to the very first stitch of the new round immediately after you work it. This prevents you from losing your place in the continuous spiral.
- Invisible Weaving: When finishing the final round, pull your yarn tail through to the inside of the basket. Weave it back and forth through the stitches on the interior base to hide the bulk of the cord.
- Adjusting Size: If you want a larger basket, continue increasing the base by adding one extra sc between increases in every round (e.g., 7 sc, inc for the next round). Note that increasing the diameter requires more yarn and may reduce the stiffness of the side walls.
Frequently Asked Questions
Can I use a different yarn weight for this basket?
You can use thinner yarn, but the basket will be significantly smaller and less sturdy. If you choose to use thinner yarn, consider holding multiple strands together to achieve a similar thickness to the recommended super bulky cord.
Why are my stitches slanting?
Working in continuous rounds often causes a slight diagonal lean in the stitches. This is normal for amigurumi-style construction. Maintaining even tension and focusing on pulling each loop to the same height can minimize this effect.
Is this project suitable for a complete beginner?
Yes, this project only requires the ability to work in a magic ring and basic single crochet stitches. The repetitive nature of the rounds makes it a great way to practice counting and circular growth.
Can I sell the baskets I make from this pattern?
You are welcome to sell finished items made from this pattern, provided you credit the design. Please do not redistribute the written instructions or photos as your own work.
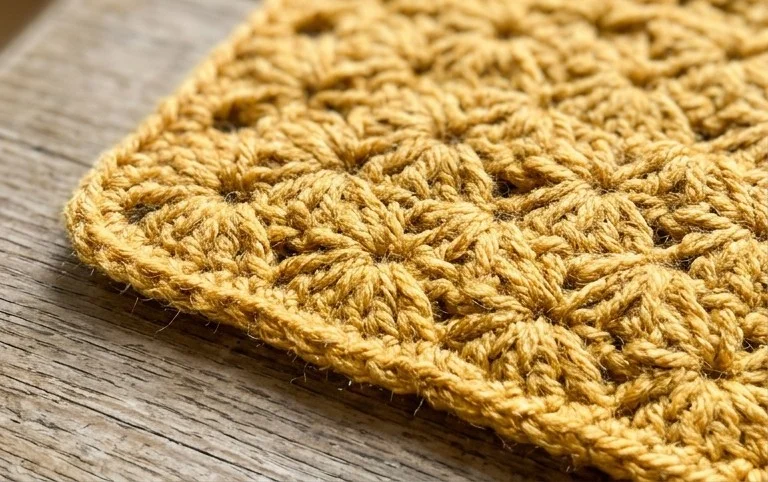
Seeing your first row of stars come together is incredibly satisfying, as each cluster adds a layer of depth and visual weight to your handmade piece. If you want a softer look, try swapping your cotton cord for a chunky wool blend or a variegated yarn to highlight the petal details in each star. Once your project is finished, post a photo of your work on Instagram or Pinterest to help inspire other makers in the community. You can find more free tutorials and patterns covering various skill levels on the main blog page anytime.