Easy Ribbed Crochet Beanie Pattern: Step-by-Step Guide
This hat has a soft, squishy texture that hugs your head without feeling too tight, making it a reliable staple for cold mornings or windy walks. Whether you are a beginner learning the back loop stitch or an experienced maker needing a quick gift, this project provides a consistent rhythm that is truly satisfying to complete. You will explore how to work flat panels that transform into a professional-looking accessory with very little effort. I enjoy the process because it turns a simple rectangle of yarn into a warm, ribbed piece that holds its shape beautifully throughout the entire winter season.
Why You’ll Love This Pattern
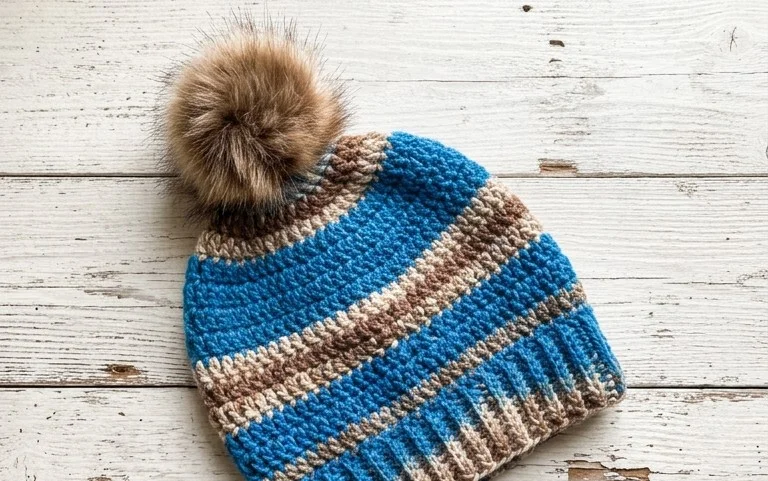
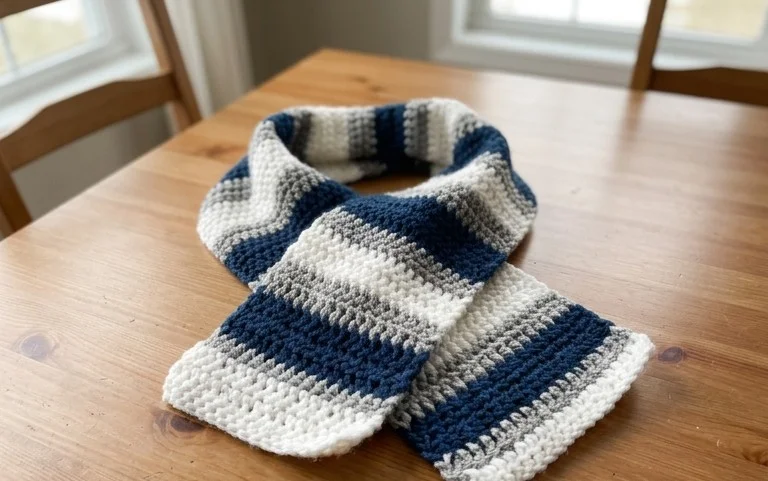
This crochet ribbed beanie offers a classic, fitted silhouette that relies on the elasticity of the half double crochet stitch worked in the back loop only. The vertical construction creates natural ridges that mimic traditional knit ribbing while maintaining the speed and ease of crochet. It is a quick project for intermediate crocheters, requiring only a single skein of yarn, which makes it an economical choice for batch-gifting during the winter months. You will appreciate the minimal finishing required, as the hat is worked as a flat rectangle and seamed at the end.
I finished this hat in one evening while watching a movie. The stitch pattern is repetitive enough to be relaxing but keeps you engaged enough that you do not lose your place.
— Sarah, hobbyist crocheter
Pattern Overview & Skill Level
- Skill Level: Beginner
- Approximate Time: 3 to 4 hours
- Construction: Worked flat as a rectangle, then seamed vertically and cinched at the top.
- Finished Dimensions: 18 inches circumference (stretches to 22 inches), 9 inches height.
Materials & Supplies Needed
- Yarn: Worsted weight #4, 100% acrylic or wool blend, approximately 200 yards.
- Hook Size: 5.0 mm / H-8.
- Notions: Tapestry needle for seaming, scissors, stitch marker, and a pom-pom maker (optional).
- Yarn substitutions: Cotton yarn will result in a heavier, less stretchy hat. If using cotton, consider going up one hook size to 5.5 mm to improve drape and flexibility.
Stitch Guide & Abbreviations (US Terms)
- ch = chain
- hdc = half double crochet
- BLO = back loop only (insert hook under the back loop of the stitch instead of both loops)
- sl st = slip stitch
- st/sts = stitch/stitches
- hdc2tog = half double crochet 2 stitches together (decrease)
Step-by-Step Pattern Instructions
Main Body Panel
The hat is worked in one piece starting from the brim edge upward to the crown.
- Row 1: Ch 45. Hdc in 3rd ch from hook and in each ch across. Turn. (43 sts).
- Row 2: Ch 2, hdc in BLO of each st across until 5 sts remain. Do not work into the last 5 sts to create the crown taper. Turn. (38 sts).
- Row 3: Ch 2, hdc in BLO of each st across. Turn. (38 sts).
- Row 4: Ch 2, hdc in BLO of each st across, hdc in remaining 5 sts of the previous row (working through both loops). Turn. (43 sts).
- Rows 5–60: Repeat Rows 1–4 until the piece measures approximately 18 inches unstretched.
Assembly and Finishing
- Fold the rectangle in half so the short ends meet.
- Using a tapestry needle and a long tail of yarn, seam the two short edges together using a slip stitch seam or a mattress stitch.
- With the hat turned inside out, weave the yarn through the top edge stitches and pull tight to close the crown hole.
- Secure the yarn with a double knot and trim the ends. Turn the hat right-side out.
Care & Washing Instructions
- Hand wash in cool water using a gentle wool-safe detergent to maintain the integrity of the fibers.
- Do not wring or twist the item; instead, lay it flat on a clean towel to air dry.
- Avoid using a clothes dryer, as high heat can shrink or melt synthetic fibers and distort the ribbing.
Pro Tips & Common Mistakes to Avoid
- Maintain consistent tension throughout the rows to ensure the ribbing looks uniform. If your tension is too tight, the hat will not stretch enough to fit comfortably.
- Use a stitch marker at the end of each row to help you identify the turning chain, ensuring your stitch count remains 43 for the full-width rows.
- Weave in your yarn ends using the mattress stitch between the ribs rather than over them; this hides the tail completely within the texture of the fabric.
- If you wish to increase the size of the hat, add stitches to your starting chain in multiples of two. Note that this will increase the total yardage required.
Frequently Asked Questions
Can I substitute the yarn with a chunky weight?
Yes, but you will need to adjust your foundation chain and total number of rows. Chunky yarn requires a larger hook, which will result in fewer stitches needed for the same circumference.
How do I make the hat longer for a slouchy fit?
Increase the starting chain length by 10 to 15 stitches before beginning the first row. This adds height to the hat without changing the circumference.
Is it okay to sell items made from this pattern?
You are welcome to sell finished hats made from this pattern. Please credit the design to this website when listing your items online.
What is the best way to keep the seam from looking bulky?
The mattress stitch is the most effective way to join the edges. By picking up only the outside loops of the edge stitches, you create a seamless join that mimics the appearance of the rest of the ribbing.
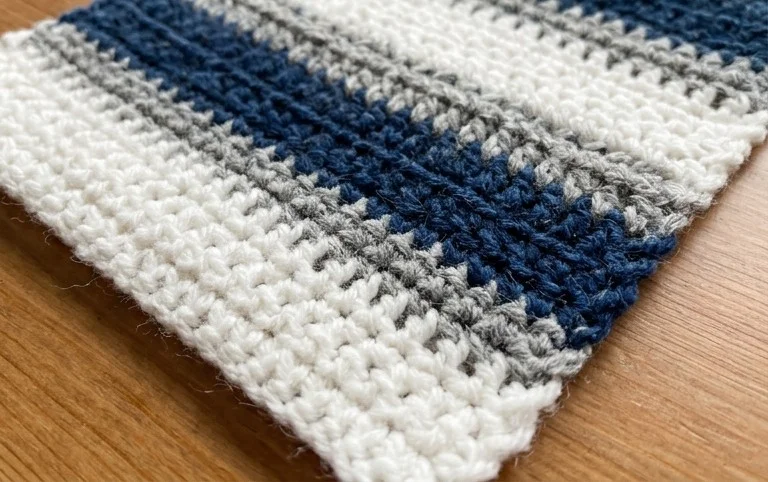
Your finished hat should feel warm and flexible, ready to wear the moment you pull it off your hook. You can easily experiment with a variegated yarn to add visual depth or add a contrasting faux-fur pom-pom for a bit of extra personality. Please share a photo of your work on Instagram or tag the blog so others can see your color choices. Browse through the library of free projects on the site to find your next afternoon craft session today.