10 Easy Crochet Baby Blanket Patterns: Free Step-by-Step
Soft cotton yarn draped across your lap creates a weighted warmth that makes these handmade covers feel like a gentle hug. Designing a nursery gift requires patience, but these simple projects turn simple chain and double crochet stitches into heirloom quality blankets that survive years of machine washing. You will focus on repeating basic rows until you find a rhythmic pace that clears your mind. Working through these patterns helps you learn how to manage tension and change colors cleanly. Each finished piece develops a tight, durable texture that holds up against curious toddlers and frequent trips through the dryer.
Why You’ll Love This Pattern
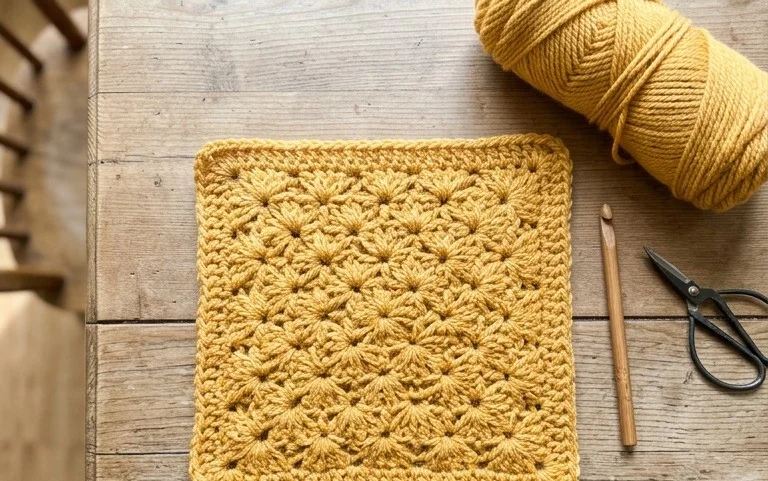
The Classic Crochet Granny Square is the quintessential project for building fundamental skills while creating a versatile building block for larger items. It works up quickly using basic stitches, making it a reliable choice for using up leftover yarn scraps from previous projects. Because the pattern relies on a repetitive, easy-to-memorize sequence, it is a meditative way to practice maintaining consistent tension. You can easily adjust the size of the square by adding more rounds, allowing you to transition from simple coasters to intricate, multi-panel blankets.
I finally mastered the center join technique with this pattern and now I have a basket full of squares ready to be turned into a throw blanket for my living room.
— Sarah, hobbyist crocheter
Pattern Overview & Skill Level
- Skill Level: Beginner
- Approximate Time: 30 to 45 minutes per square
- Construction: Worked in joined rounds, starting from the center and expanding outward
- Finished Dimensions & Sizing: Approximately 6 inches square when using worsted weight yarn
Materials & Supplies Needed
- Yarn: Worsted weight (#4), 100% cotton or acrylic, approximately 20-30 yards per square.
- Hook Size: 5.0 mm (US H-8)
- Notions: Tapestry needle for weaving in ends, scissors, and optional stitch markers to track the start of rounds.
- Safe yarn substitutions: You may use DK weight yarn for a smaller, more delicate square, though you will need to reduce the number of chains in your corners. Using a bulky yarn will increase the finished size significantly and require a larger hook, typically 6.0 mm or 8.0 mm.
Stitch Guide & Abbreviations (US Terms)
- ch = chain
- sl st = slip stitch
- dc = double crochet
- dc cluster = a group of 3 dc stitches worked into the same space
- sp = space
- RS = right side
Step-by-Step Pattern Instructions
Center and First Round
- Foundation: Start with a magic ring or chain 4 and sl st to the first chain to form a loop.
- Rnd 1: Ch 3 (counts as first dc), work 2 dc into the center of the ring. Ch 2, *3 dc into the ring, ch 2; repeat from * twice more. Join with a sl st to the top of the beginning ch 3. (12 dc, 4 ch-2 spaces)
Expanding the Square
- Rnd 2: Sl st into the next dc and into the first ch-2 corner space. Ch 3, (2 dc, ch 2, 3 dc) in the same corner space. *Ch 1, skip 3 dc, (3 dc, ch 2, 3 dc) in the next corner space. Repeat from * twice more. Ch 1, join with a sl st to the top of the beginning ch 3. (24 dc, 4 ch-1 spaces, 4 ch-2 spaces)
- Rnd 3: Sl st into the next 2 dc and into the first ch-2 corner space. Ch 3, (2 dc, ch 2, 3 dc) in the same corner space. *Ch 1, 3 dc in the next ch-1 space, ch 1, (3 dc, ch 2, 3 dc) in the next corner space. Repeat from * twice more. Ch 1, 3 dc in the final ch-1 space, ch 1, join with a sl st to the top of the beginning ch 3. (36 dc, 8 ch-1 spaces, 4 ch-2 spaces)
- Rnd 4: Continue in this pattern, placing (3 dc, ch 2, 3 dc) in each corner and 3 dc in every ch-1 space along the sides, separated by ch 1. Continue until the square reaches your desired size.
Finishing
- Fasten off yarn, leaving a 6-inch tail.
- Use a tapestry needle to weave the tail through the back loops of the final round to secure the stitch.
- Repeat for the starting tail at the center of the square.
Care & Washing Instructions
- Hand wash in cool water using a gentle detergent specifically formulated for fiber crafts.
- Lay the square flat on a clean towel to air dry, ensuring it is shaped into a perfect square.
- Block by gently pinning the corners to a foam board to ensure the edges remain straight after washing.
Pro Tips & Common Mistakes to Avoid
Consistent tension is the most important factor in keeping your square flat; if you notice the square curling like a bowl, your tension is likely too tight. Always place a stitch marker in the top of your beginning chain-3 to ensure you know exactly where to join your round, which helps avoid losing stitches over time. When weaving in your ends, run the needle through the base of the stitches on the wrong side for at least one inch to prevent the yarn from unravelling after washing. If you decide to adjust the size, remember that each additional round increases the yarn requirement significantly, so ensure you have enough yardage before starting a very large project.
Frequently Asked Questions
Can I use different weights of yarn together in one project?
It is possible, but using different yarn weights in a single square or blanket will lead to uneven tension and distorted edges. It is best to stick to one weight throughout the entire piece.
How do I join multiple squares together?
You can use a slip stitch join through the back loops of two squares held together or use a tapestry needle and a length of matching yarn to perform a whip stitch seam.
Is this pattern suitable for complete beginners?
Yes, this is an excellent starter project because it teaches you how to work in rounds, create corners, and manage consistent stitch counts without complex shaping.
May I sell items made from this pattern?
Please check the original source material or website for specific licensing terms regarding the sale of finished handmade goods, as every designer has different requirements.
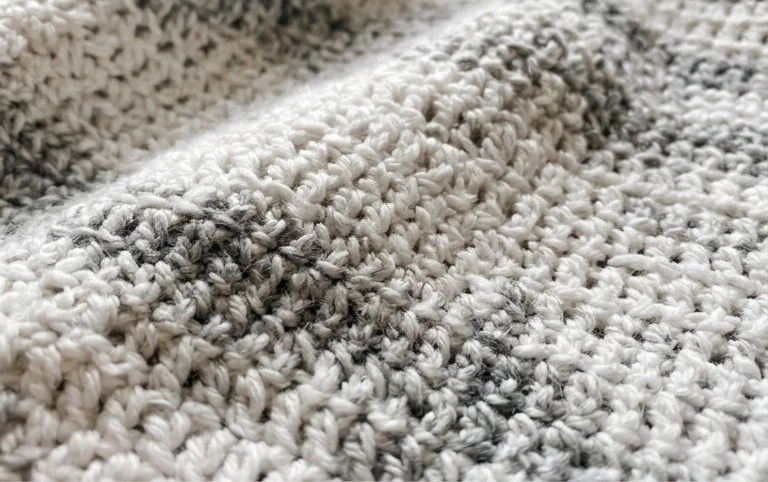
Seeing your finished blanket spread across a crib makes all those hours spent counting stitches feel worth every moment. You can customize the look by swapping out muted tones for high-contrast stripes or adding a pom-pom border to the edges for extra tactile interest. Post a photo of your work on Instagram so friends can see your progress. Feel free to browse the rest of the site for more simple designs that help you build confidence with every hook movement. Happy making as you continue growing your handmade collection.