Easy Christmas Quilt Blocks Crochet Free Pattern
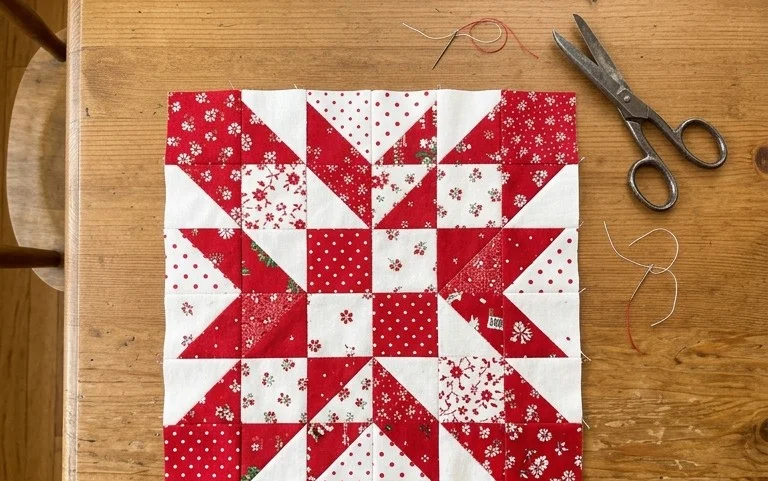
These holiday-themed squares bring a cozy touch to your kitchen, featuring crisp corners and a flat, dense texture that feels substantial in your hands. This project is a rewarding choice for beginners who want to move beyond basic swatches while creating functional items for their home or gift baskets for friends. You will rely on the thermal stitch throughout this work, a simple method that creates a dual-layered fabric without the need for sewing separate panels together. Expect a satisfying rhythm as the rows build up into a sturdy block, making it a reliable way to spend an afternoon.
Why You’ll Love This Pattern
This classic crochet dishcloth relies on the textured grit of the thermal stitch, making it exceptionally effective for scrubbing surfaces. Because it is worked back and forth in rows, the fabric becomes twice as thick as standard crochet, providing a sturdy pad that retains soap and water better than single-layer designs. It uses a straightforward repeating stitch pattern that becomes intuitive after the first few rows, making it an ideal choice for mindless evening crafting while watching television. You can easily complete one in a single sitting, and the durable nature of the fabric ensures it withstands high-temperature washing repeatedly without losing its shape.
I switched to this pattern for my kitchen because it is significantly thicker than the thin cotton squares I used to buy at the store. It scrubs hard stains off my pans without needing a separate plastic scrubber.
— Sarah, home maker
Pattern Overview & Skill Level
- Skill Level: Beginner
- Approximate Time: 60 to 90 minutes
- Construction: Flat rectangle worked in rows using the thermal stitch method
- Finished Dimensions: Approximately 7 inches by 7 inches
Materials & Supplies Needed
- Yarn: Worsted weight (#4), 100% cotton yarn, approximately 80 yards. Cotton is necessary for its absorbency and heat resistance.
- Hook Size: 5.0 mm / H-8
- Notions: Tapestry needle for weaving in ends, scissors, and optional stitch markers.
- Safe Yarn Substitutions: Linen or hemp blends of the same weight work well for increased scrubbing power, though they may feel stiffer. Avoid acrylic yarns, as they are not absorbent and may melt when exposed to hot pots or pans.
Stitch Guide & Abbreviations (US Terms)
- ch = chain
- sc = single crochet
- BLO = back loop only
- st/sts = stitch/stitches
- Thermal Stitch: To work this stitch, insert your hook through the back loop of the current row and the remaining front loop of the row below simultaneously. Yarn over, pull up a loop, and complete the single crochet as normal.
Step-by-Step Pattern Instructions
The foundation of this dishcloth is a starting chain that determines the width. Note that this stitch pattern is worked into the row below, so the first few rows require careful counting to maintain the square shape.
Foundation and Base Rows
- Row 1: Chain 26. Starting in the second chain from the hook, work one sc in each ch across. Turn. (25 sts)
- Row 2: Ch 1. Sc in the BLO of each st across. Turn. (25 sts)
- Row 3 (Setting the Thermal Stitch): Ch 1. Sc into the BLO of the first st. For the remaining 24 stitches, insert the hook into the BLO of the current row and the exposed front loop of the row directly below it. Yarn over, pull up a loop, and complete the sc. Turn. (25 sts)
Main Body
- Rows 4 through 30: Repeat Row 3. Each stitch is worked through the BLO of the current row and the corresponding front loop of the row below. This creates the signature thick, double-layered texture of the thermal stitch. Ensure you count your stitches every five rows to prevent accidental increases or decreases. (25 sts)
- Finishing Row: Work one row of sl st across the top edge, catching the back loop and the front loop of the row below to seal the final edge securely. Fasten off and weave in all loose ends.
Care & Washing Instructions
- Machine wash on a hot cycle with like-colored cotton items to keep the dishcloth sanitary.
- Tumble dry on low heat or lay flat on a drying rack to prevent excessive shrinking.
- Avoid using fabric softener, as it leaves a residue that reduces the cotton yarn’s natural ability to absorb water.
Pro Tips & Common Mistakes to Avoid
- Tension control is vital for this pattern; if your stitches are too tight, it will be physically difficult to insert the hook into the front loops of the row below. Use a slightly larger hook if you naturally crochet with a tight grip.
- Always place a stitch marker in the first stitch of every row. Because the thermal stitch creates a dense, thick edge, it is very common to accidentally skip the first or last stitch, which leads to a lopsided rectangle.
- Weave your ends in by passing the yarn tail through the interior of the double-thick fabric rather than across the surface. This hides the tail completely between the two layers, preventing it from fraying during heavy use.
- Adjusting the size is simple: keep your foundation chain to an odd number to maintain consistent tension. Adding 2 stitches to your starting chain will increase the width by approximately half an inch. Keep in mind that a larger dishcloth will require more than one ball of standard 100% cotton yarn.
Frequently Asked Questions
Can I use a variegated yarn for this pattern?
Yes, variegated yarn adds visual interest to the dense texture of the thermal stitch. Keep in mind that color changes will appear more abrupt because of the way the stitches are stacked vertically.
Is this pattern suitable for someone who has never crocheted before?
It is excellent for beginners who understand how to make a chain and a single crochet. The primary challenge is learning to identify the front loops of the row below, but the repetition makes it very easy to practice.
Why is my rectangle curling at the edges?
Curling often happens when your tension is inconsistent or the starting chain is too tight. If this occurs, try going up half a hook size for the foundation chain only, then switch back to your primary hook size for the rest of the project.
Can I sell the dishcloths I make using this pattern?
You are welcome to sell finished items created from this pattern. I ask that you credit the design appropriately, but you may not sell or redistribute the pattern text itself.
Your finished squares serve as a durable addition to your home for the holidays, keeping surfaces clean while adding a festive handmade touch to your counter. You can modify these blocks by alternating two contrasting colors every few rows to create a distinct plaid effect. Sharing a photo of your work on social media helps other makers find inspiration for their own holiday projects. Visit our blog index to find more free patterns to fill your afternoons with simple, practical crochet designs to complete your collection.