Dreamy Cable Hat: Free Easy Beginner Crochet Pattern
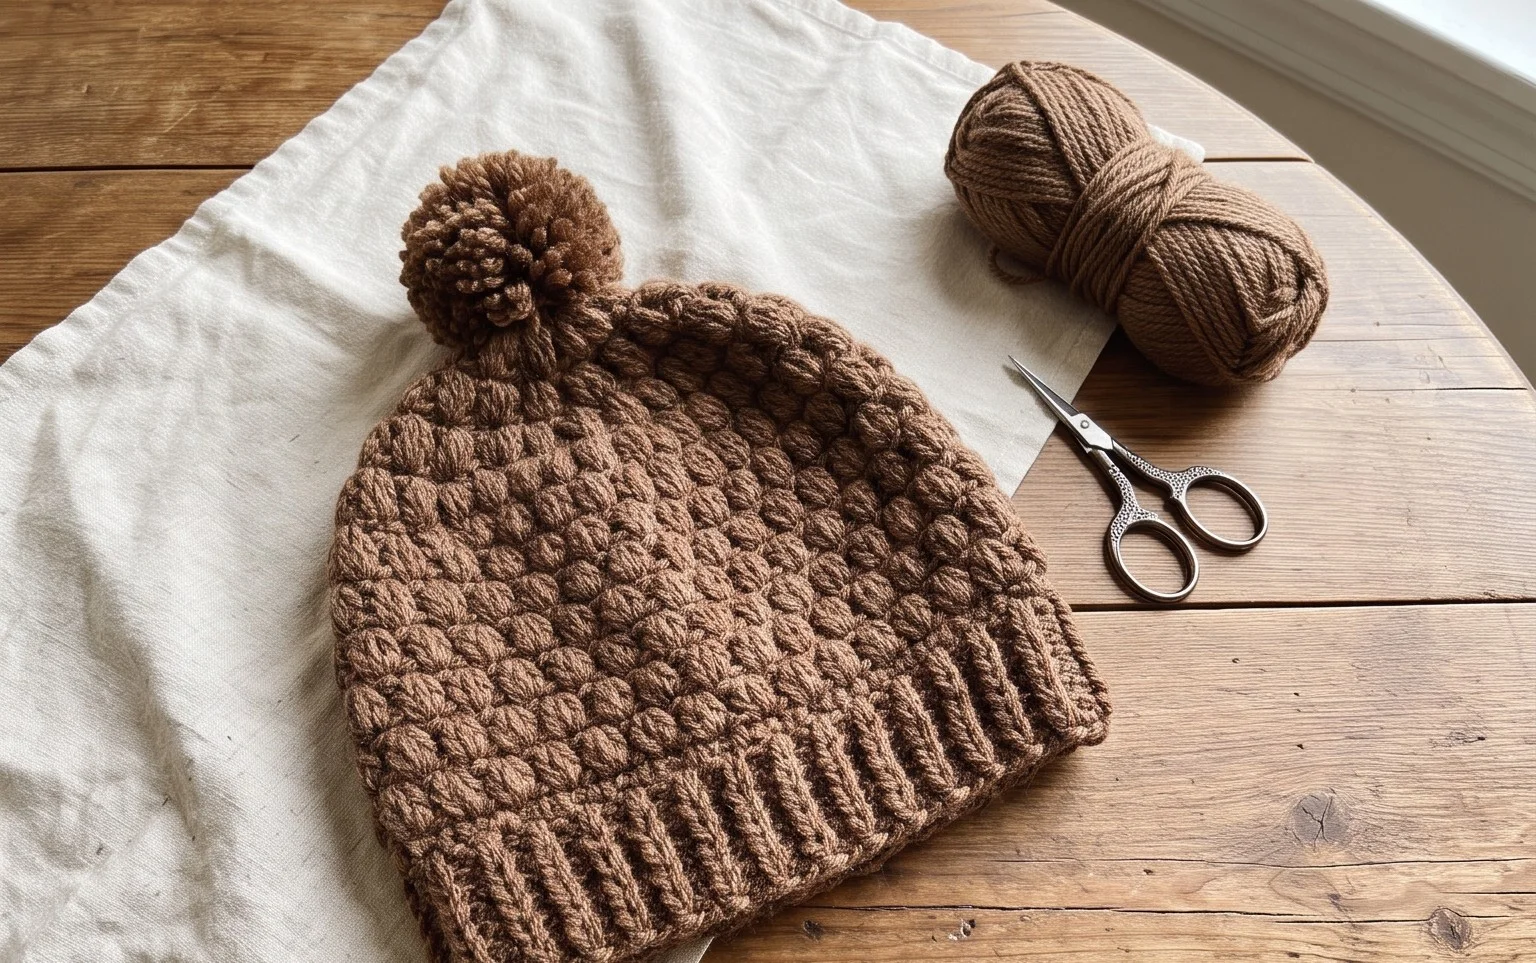
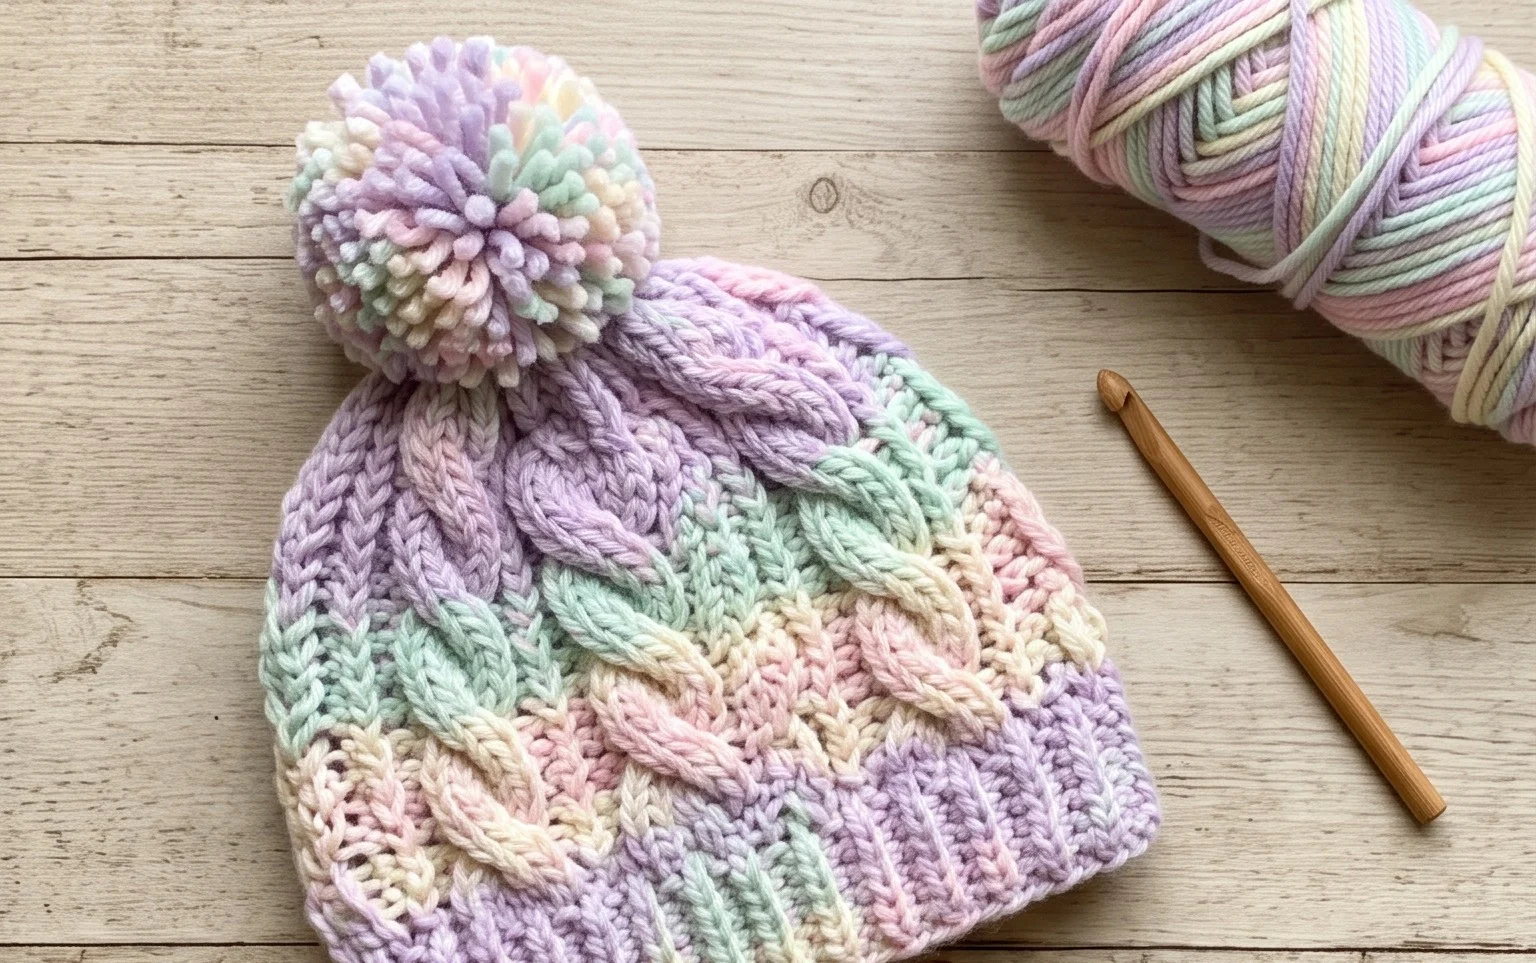
Soft wool against your ears makes this ribbed accessory a winter essential for chilly morning walks. The finished piece holds a dense, squishy structure that mimics the appearance of expensive knitwear, providing a timeless look that pairs well with any winter coat. Beginners appreciate this project because it relies on simple back loop stitches rather than complex cabling tools or circular needles. You will learn to work a basic rectangle that transforms into a cozy hat with just a few simple seams. Crafting this design offers a rhythmic, relaxing experience that produces a gift-ready item in a single afternoon.
Why You’ll Love This Pattern
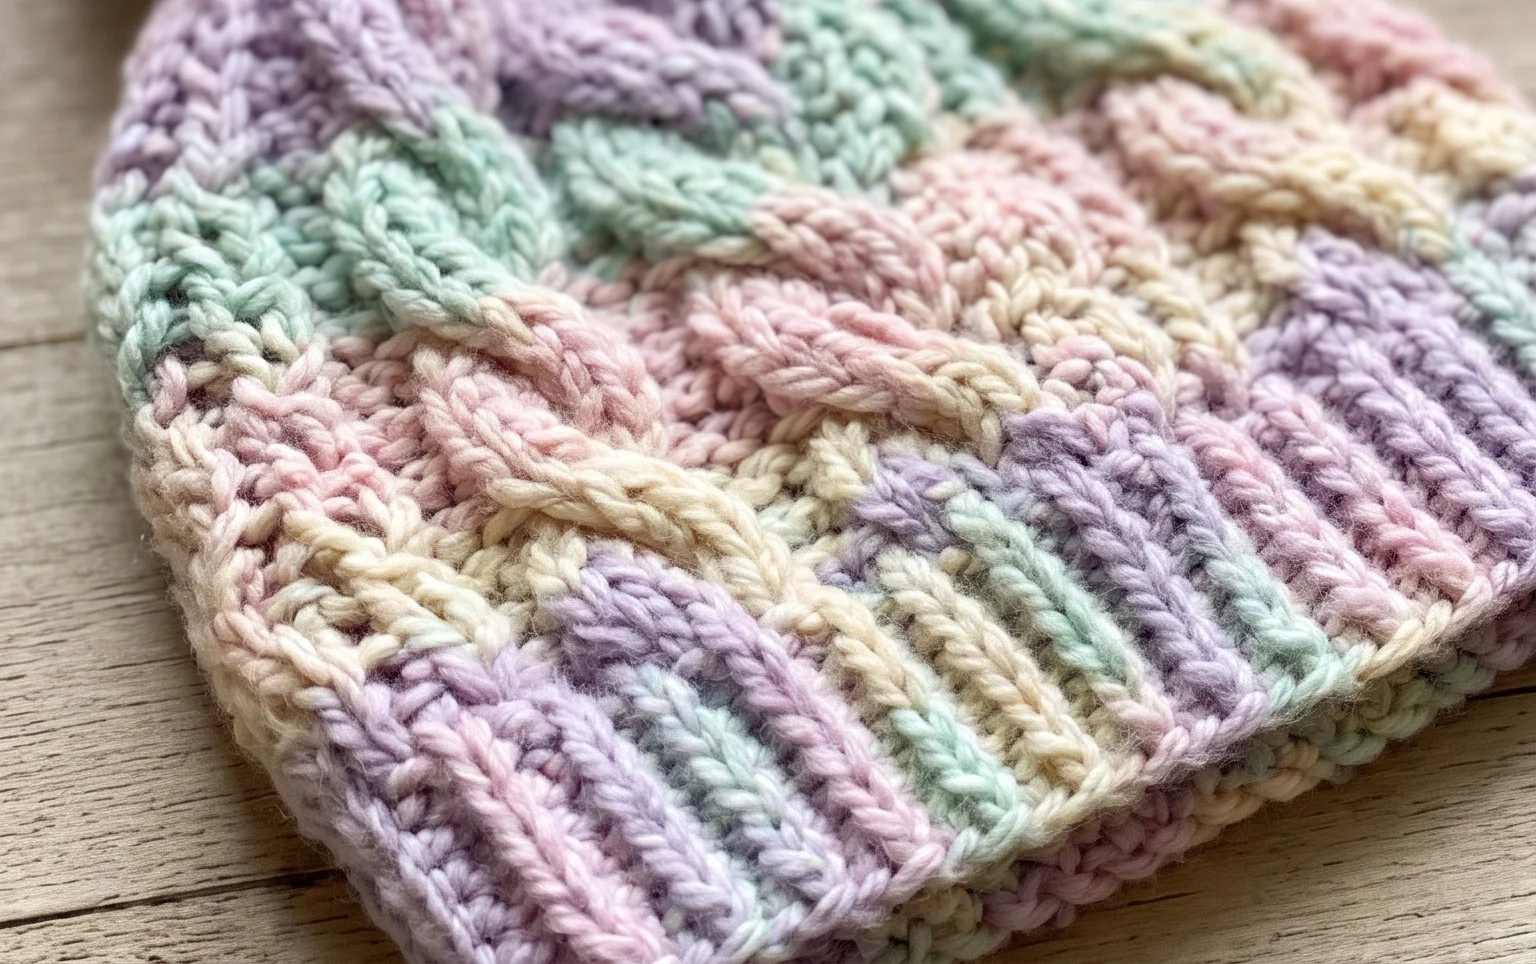
This crochet ribbed beanie pattern uses a simple construction method that mimics a professional knit-look brim while remaining entirely beginner-friendly. Because it is worked as a flat rectangular panel, you avoid the complexity of calculating circular increases and decreases. The ribbed texture provides significant elasticity, which ensures a snug, comfortable fit for various head sizes. This project is an excellent stash-buster, as it requires less than one full skein of standard worsted weight yarn, and the repetitive nature of working in the back loop makes it a perfect, meditative project for an evening of crafting.
I was nervous about trying a hat, but this flat-panel method was so straightforward that I finished my first one in a single weekend. It looks exactly like store-bought ribbing.
— Sarah, hobbyist crafter
Pattern Overview & Skill Level
- Skill Level: Beginner
- Approximate Time: 3 to 4 hours
- Construction: Worked flat in rows as a rectangle, then seamed to create a tube with a cinched top.
- Finished Dimensions & Sizing: Fits average adult head circumference (20–22 inches); height is adjustable by adding or subtracting rows.
Materials & Supplies Needed
- Yarn: Worsted weight (#4), approximately 180 yards of 100% acrylic or wool blend.
- Hook Size: 5.0 mm (US H-8) crochet hook.
- Notions: Tapestry needle for seaming, scissors, and a stitch marker to keep track of the starting chain.
- Yarn Substitutions: You may use cotton yarn for a stiffer structure, though it will have less stretch than acrylic or wool. If you choose a lighter weight yarn, you will need to add more starting chains to reach the desired height of the hat.
Stitch Guide & Abbreviations (US Terms)
- ch = chain
- st/sts = stitch/stitches
- sl st = slip stitch
- BLO = back loop only (insert hook under the back loop of the stitch only, leaving the front loop visible)
- RS = right side
- WS = wrong side
Step-by-Step Pattern Instructions
Hat Body
- Row 1: Ch 46. Starting in the second ch from the hook, sl st in each ch across. Turn. (45 sts)
- Row 2: Ch 1, sl st in the BLO of each st across until the end of the row. Turn. (45 sts)
- Rows 3–60: Repeat Row 2 until the piece measures approximately 20 inches when slightly stretched. Do not fasten off after the final row.
Assembly and Finishing
- Seaming: Fold the rectangle in half so the short edges meet. Working through the BLO of the last row and the starting chain edge simultaneously, sl st across the length of the short edge to join the hat into a tube. Fasten off, leaving a 12-inch yarn tail.
- Closing the Crown: Using your tapestry needle and the long yarn tail, weave the yarn in and out along the top edge of the tube. Pull the yarn tail tight to gather the top of the hat closed. Secure with a knot on the inside of the hat.
- Final Step: Weave in all remaining yarn ends securely on the wrong side.
Care & Washing Instructions
- Machine wash on a gentle cycle using cool water and mild detergent.
- Lay the hat flat on a clean towel to air dry, reshaping it while damp to ensure the ribbing remains even.
- Avoid using high heat during drying or ironing, as this can melt synthetic fibers or felt natural wool fibers.
Pro Tips & Common Mistakes to Avoid
- Maintain consistent tension, especially with slip stitches. If your stitches are too tight, the fabric will be stiff; if they are too loose, the ribbing will lose its shape.
- Place a stitch marker in the first stitch of every row to ensure you do not accidentally skip the final stitch, which keeps your edges straight.
- Weave in your yarn ends by traveling under the stitches on the inside of the seam for about an inch in both directions to prevent the seam from unraveling.
- You can adjust the size by changing the number of initial chains. Adding more chains increases the height of the hat, while working more rows increases the circumference.
Frequently Asked Questions
Can I substitute the yarn for a bulky weight?
Yes, but you will need to adjust your starting chain length to account for the thickness of the yarn. A bulky weight yarn will result in a much thicker, warmer hat, so reduce your stitch count significantly to maintain the correct dimensions.
Is this pattern suitable for complete beginners?
This pattern is ideal for beginners because it uses only one basic stitch—the slip stitch—worked in the back loop to create a textured, professional result without needing to learn complex increases or decreases.
How do I adjust this pattern for a child’s size?
To size down, reduce the number of starting chains to match the desired height of the child’s head and work fewer total rows until the piece wraps comfortably around the head circumference.
Can I sell the hats I make from this pattern?
You are welcome to sell finished items created from this pattern, provided you credit the original designer. Please use your own photographs rather than copying images from this tutorial.
Your new handmade hat provides warmth and style throughout the coldest months of the year. Try knitting this in a deep navy wool for a classic look, or add a large faux fur pom-pom to the top for a bit of playful texture. Post a photo of your finished work online so others can see how your color choices turned out. Browse the rest of the blog for more free patterns to build your collection of handmade winter accessories and gifts for friends.