Classic Granny Square: Free Beginner Crochet Pattern
A stack of finished granny squares feels substantial and soft in your hands, creating a tactile warmth that mass-produced blankets simply cannot mimic. This project is a genuine joy for those who want to build rhythm in their craft, moving through each cluster stitch until the square begins to pop into its square shape. Whether you are building a throw for your couch or just need a simple project to keep your hands busy while listening to an audiobook, this method provides a solid foundation. You will learn how to manage tension and corners without frustration.
Why This Project Is Worth Making
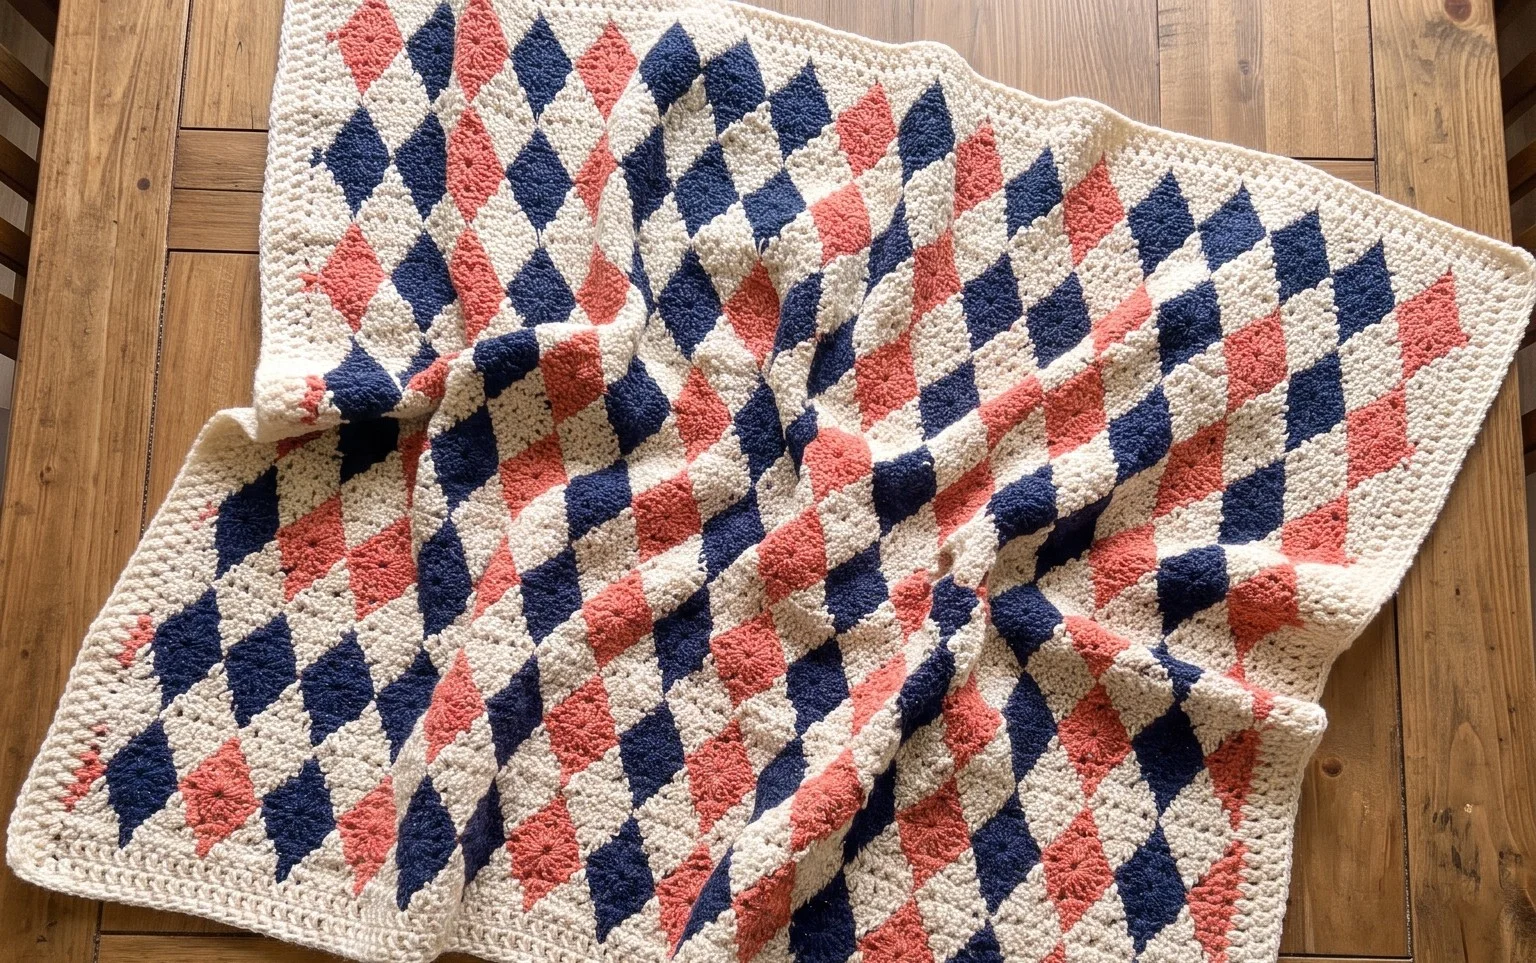
The Classic Crochet Granny Square is the quintessential building block for handmade blankets, bags, and garments. This project is ideal for beginners because it introduces the foundational concepts of working in rounds and cluster stitches without the complexity of shaping or increases. Because each square works up in mere minutes, you can easily carry your yarn and hook to complete a square during your commute or while waiting for an appointment. It is a scrap-yarn favorite, allowing you to use small amounts of leftover colors to create a cohesive, colorful stash-buster. The repeating pattern is meditative and rhythmic, making it an excellent choice for an evening of stress-free crafting.
I finally learned how to keep my edges straight using this pattern, and now I have a whole stack of squares ready to turn into a baby blanket for my nephew.
— Sarah, beginner crocheter
Pattern Overview & Skill Level
- Skill Level: Beginner
- Approximate Time: 15–20 minutes per square
- Construction: Worked in rounds starting from a center point, expanding outward with chains and clusters
- Finished Dimensions: Approximately 5 inches by 5 inches using medium weight yarn
Materials & Supplies Needed
- Yarn: Worsted weight #4, 100% acrylic or wool blend, approximately 15 yards per square.
- Hook Size: 5.0 mm (US H-8).
- Notions: Tapestry needle for weaving in ends, scissors, and optional locking stitch markers to mark the start of each round.
- Safe yarn substitutions: You may use DK weight yarn for a smaller, more delicate square, though you will need to increase the number of rounds to reach the target size. Bulky yarn can be used with a 6.0 mm hook for a faster, chunkier finish, which will result in a larger, thicker square.
Stitch Guide & Abbreviations (US Terms)
- ch = chain
- st = stitch
- sl st = slip stitch
- dc = double crochet
- Cluster = a group of 3 dc stitches worked into the same space
- sp = space
- MR = magic ring (or ch 4 and join with sl st to form a ring)
Step-by-Step Pattern Instructions
Granny Square Body
- Rnd 1: Start with a MR. Ch 3 (counts as first dc here and throughout), 2 dc into the ring. Ch 2, 3 dc into the ring. Ch 2, 3 dc into the ring. Ch 2, 3 dc into the ring. Ch 2, join with a sl st to the top of the beginning ch-3. (4 clusters, 4 ch-2 spaces)
- Rnd 2: Sl st into the next 2 sts and into the first ch-2 corner space. Ch 3, 2 dc, ch 2, 3 dc in the same corner space. *Ch 1, (3 dc, ch 2, 3 dc) in the next corner space. Repeat from * twice more. Ch 1, join with a sl st to the top of the beginning ch-3. (8 clusters, 4 ch-2 spaces, 4 ch-1 spaces)
- Rnd 3: Sl st into the next 2 sts and into the first ch-2 corner space. Ch 3, 2 dc, ch 2, 3 dc in the same corner space. *Ch 1, 3 dc in the next ch-1 space. Ch 1, (3 dc, ch 2, 3 dc) in the next corner space. Repeat from * twice more. Ch 1, 3 dc in the last ch-1 space, ch 1, join with a sl st to the top of the beginning ch-3. (12 clusters, 4 ch-2 spaces, 8 ch-1 spaces)
- Rnd 4: Sl st into the next 2 sts and into the first ch-2 corner space. Ch 3, 2 dc, ch 2, 3 dc in the same corner space. *[Ch 1, 3 dc in the next ch-1 space] twice. Ch 1, (3 dc, ch 2, 3 dc) in the next corner space. Repeat from * twice more. Ch 1, [3 dc in the next ch-1 space] twice, ch 1, join with a sl st to the top of the beginning ch-3. (16 clusters, 4 ch-2 spaces, 12 ch-1 spaces)
Finishing
Cut the yarn leaving a 6-inch tail. Pull the tail through the final loop on your hook. Use a tapestry needle to weave the tail through the back of the work, moving back and forth to secure it firmly before trimming any excess.
Care & Washing Instructions
- Hand wash in cool water using a mild detergent to preserve the shape and color of the yarn.
- Lay the square flat on a clean towel to air dry; do not wring or hang, as this may distort the stitches.
- Gently reshape the square with your hands while it is damp to ensure the corners remain crisp and square.
Pro Tips & Common Mistakes to Avoid
Consistent tension is the secret to a professional-looking square; if your stitches are too tight, use a larger hook, and if they are too loose, focus on pulling your yarn evenly after every dc. Place a stitch marker in the top of your beginning ch-3 at the start of every round to easily identify where to join your slip stitch at the end. When changing colors, carry your new yarn by looping it through the final slip stitch of the previous round to ensure clean transitions. If you want a larger square, simply continue repeating the logic of Rnd 4, adding one more 3-dc cluster group for every additional ch-1 space created in each side as the square grows; note that this will require more yarn per square.
Frequently Asked Questions
Can I use different yarn weights in the same project?
While possible, combining different yarn weights in one project will cause the squares to have different sizes and textures, which may result in uneven seams when joining them together.
How do I know if I have enough yarn to finish?
Weigh your initial ball of yarn before starting, then weigh it again after completing one square. This difference tells you exactly how much yarn that square consumes, allowing you to calculate how many squares you can make with your remaining supply.
Is it difficult to join these squares together?
Joining is straightforward once you practice. You can use a whip stitch for a raised seam or a flat slip stitch join for a smooth appearance, both of which are common techniques for assembly.
May I sell items made from this pattern?
You are welcome to sell finished items created from this pattern. I ask that you credit the designer and provide a link back to this original tutorial in your product listing.
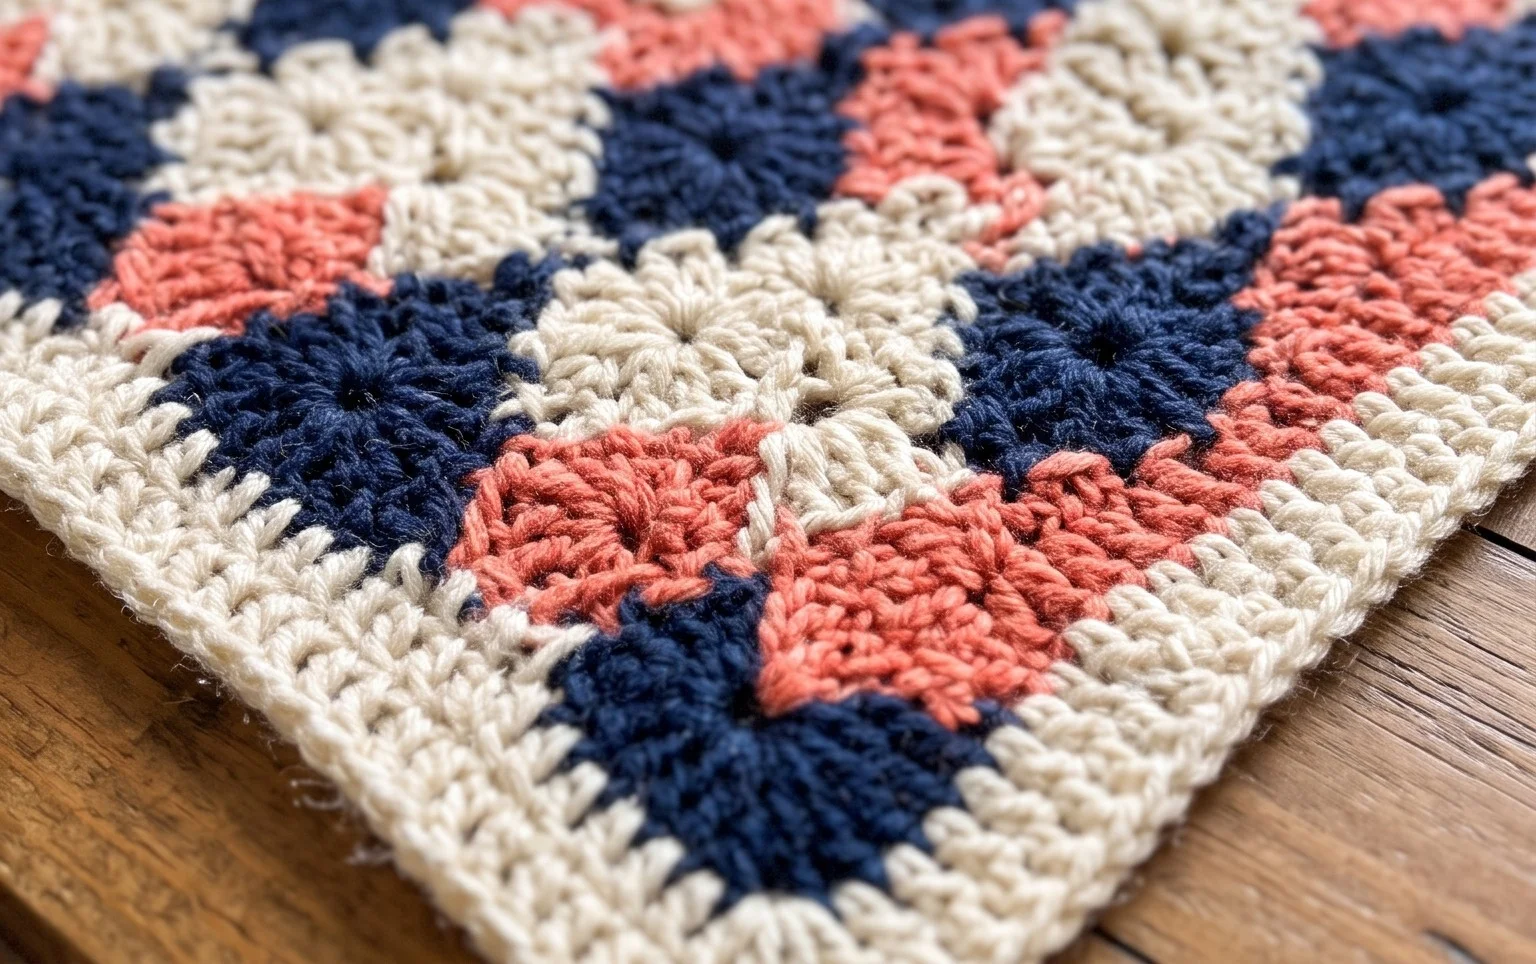
Your finished granny square shows how much charm a bit of yarn and a simple hook can create. If you want to change the look, try using a variegated yarn for the final round to give your square a unique, contrasting frame. Once you have finished your first few squares, post a photo of them online to show off your progress. You can find more free patterns on our blog to keep your yarn stash moving and your creative energy flowing all year long.