Easy Crochet Christmas Stars with a Free Pattern Guide
Soft yarn forms small, pointed stars that bring a handmade touch to a tree, gift tag, or mantel garland. These crochet Christmas decorations are light to hang and have a satisfying shape, with clear points that stand out once the yarn is woven in and the star is gently flattened. The project suits beginners who know a few basic stitches, as well as gift makers looking for a quick handmade extra. You can use leftover yarn in classic red and green, or choose cream and gold for a quieter look. The pattern explains how simple stitches and careful shaping build the star, with tips for keeping each point even. Make one during a relaxed evening, then add a hanging loop or join several stars into a garland.
Why You’ll Love This Pattern
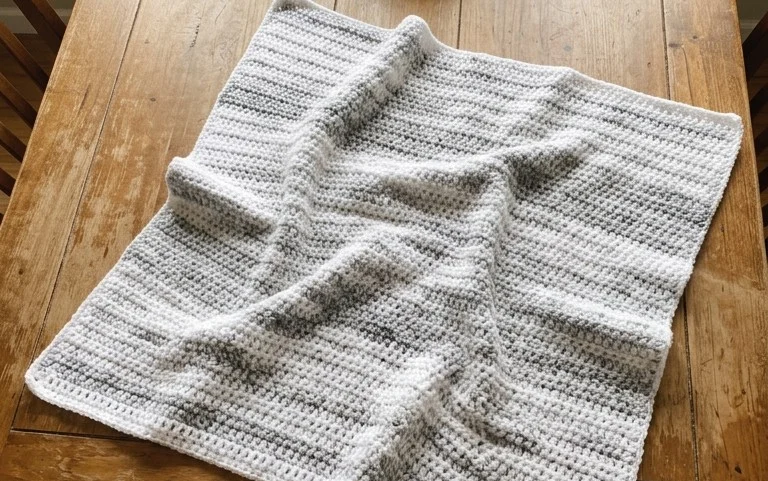
A firm, washable cotton dishcloth is useful at the sink and simple to make with one stitch. This beginner pattern forms a square in single crochet, so you can focus on keeping the edges straight rather than learning shaping or joining rounds.
The dense fabric holds up to everyday washing, and one small ball of worsted cotton is usually enough. The steady rows also make this a handy project to pick up for a few minutes at a time. Use a smooth, light-colored yarn if you are still learning to see the top loops of each stitch.
The rows were easy to count, and the cotton made a sturdy cloth that washed well after its first week at the sink.
— Lena, pattern tester
Pattern Overview & Skill Level
- Skill Level: Beginner. You need to know how to chain and single crochet.
- Approximate Time: 2–3 hours, depending on your pace and tension.
- Construction: A flat square worked in rows from the bottom edge upward. The pattern has no seams, increases, or decreases.
- Finished Dimensions & Sizing: About 8 × 8 in (20 × 20 cm) after washing and gentle reshaping. The fabric may vary slightly with yarn and tension.
Gauge: 15 single crochet stitches and 16 rows measure 4 in (10 cm) in pattern. Gauge matters here because it determines both the finished size and the amount of cotton used. Make and measure a small swatch if your cloth needs to match these dimensions.
Materials & Supplies Needed
- Yarn: About 75–90 yd (69–82 m) of worsted-weight #4, 100% cotton yarn. One solid color is easiest for counting; a small amount of a second color can be used for a separate hanging loop, though a loop is not included in this pattern.
- Hook: 5.0 mm / H-8 crochet hook. Change hook size if needed to match gauge.
- Notions: Tapestry needle for weaving in the yarn ends, scissors, and a ruler or tape measure. A stitch marker is optional for marking the first stitch of a row.
- Substitutions: Cotton is best for a cloth that absorbs water and tolerates frequent washing. A cotton-linen blend can feel slightly firmer and may soften with use. Avoid acrylic for a dishcloth because it absorbs less water. A different yarn thickness changes the finished size and yardage; choose a hook that gives a flexible but dense fabric, then check your gauge.
Stitch Guide & Abbreviations (US Terms)
- ch = chain.
- sc = single crochet: insert the hook in the stitch, yarn over and pull up a loop, yarn over and draw through both loops on the hook.
- st = stitch; sts = stitches.
- rep = repeat.
The turning chain at the start of each row does not count as a stitch. Work the first single crochet into the first stitch of the row, directly beside the turning chain.
Step-by-Step Pattern Instructions
Dishcloth
- Foundation: Ch 31. The chain does not count as a row or stitch.
- Row 1: Sc in the second ch from the hook and in each ch across. Turn. (30 sts)
- Rows 2–32: Ch 1, sc in each st across, then turn. Work 30 single crochet stitches on every row. (30 sts per row)
After Row 32, the cloth has 32 rows in total, including Row 1. At the stated gauge, it should measure close to 8 in (20 cm) square. If it is noticeably wider or narrower, check that you have 30 stitches across and compare your gauge before continuing.
Finishing
Fasten off, leaving a tail long enough to weave in comfortably. Thread the tail onto a tapestry needle and pass it through the backs of several stitches on the wrong side. Change direction once, then trim the remaining end close to the fabric without cutting a stitch. Weave in the starting tail in the same way. Wash the cloth and reshape it flat while damp.
Care & Washing Instructions
- Wash cotton in a machine or by hand with mild detergent at up to 40°C (104°F), unless the yarn label gives different instructions.
- Dry flat or tumble-dry on low if the yarn label allows; high heat can shrink or roughen cotton.
- While damp, smooth the corners and edges back into a square. Blocking is usually unnecessary, but gentle reshaping helps correct uneven edges.
Pro Tips & Common Mistakes to Avoid
- Keep your starting chain loose enough to stretch slightly. A tight chain can pull the bottom edge inward even when the rows above it are even.
- Count the 30 stitches at the end of each row. If you tend to miss the last stitch, place a marker in the first stitch of the row so it is easier to find when you turn.
- Keep the turning chain separate from the stitch count. Work the first single crochet into the first stitch, not into the chain, or the edge may gain stitches and flare.
- For a larger cloth, add an even number of chains and work the same number of stitches across, then add rows until the height matches the width. A larger cloth uses more yarn; a smaller hook makes denser fabric and may also increase yarn use.
When weaving in ends, avoid pulling the yarn so tightly that the edge puckers. Cotton has less stretch than wool, so a firm tug can remain visible after washing. For a smooth finish, follow the direction of the stitches on the wrong side and change direction once before trimming.
Frequently Asked Questions
Can I use a different yarn weight for this dishcloth?
Yes, but the finished measurements will change. Use a hook suited to the yarn and make a gauge swatch. A thinner yarn produces a smaller, lighter cloth; a bulkier yarn makes a larger, thicker one and needs more yardage.
How can I make the cloth larger or smaller?
For a wider cloth, adjust the starting chain, then work the same number of single crochet stitches across each row. For a taller or shorter cloth, work more or fewer rows. Keep the piece square by matching its height to its width, and allow for additional yarn when increasing the size.
Is this pattern suitable for a first crochet project?
Yes. It uses only chains and single crochet stitches in straight rows. The main challenge is keeping 30 stitches in every row, so count before turning, especially during the first few rows.
May I sell dishcloths made from this pattern?
Check the pattern designer’s terms before selling finished items, and follow any rules about credit or commercial use. If you sell the cloth, describe the fiber accurately and include care instructions based on the yarn label.
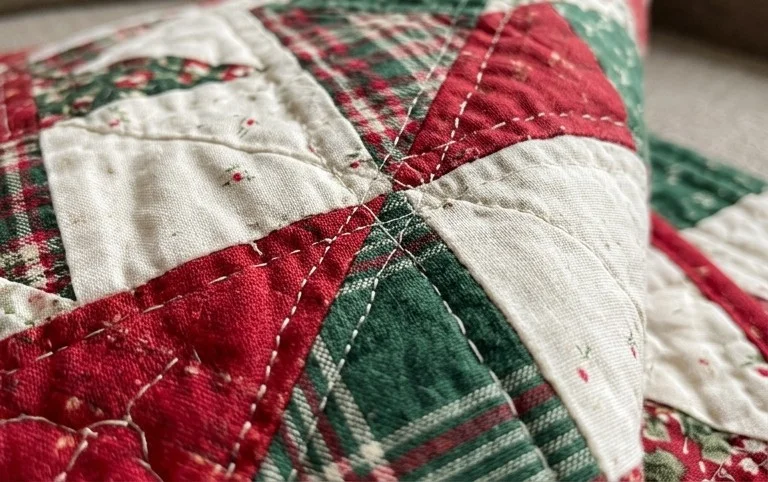
Your finished stars add a small, handmade detail to a tree, wrapped present, or winter garland, and each one takes only a little yarn. For a simple variation, use a finer yarn and a smaller hook to make miniature stars for gift tags, or switch colors between rounds for a striped look. Take a photo of your finished pieces and share it on Pinterest or your favorite social platform; seeing different color choices can be helpful to other makers. If you enjoyed this project, browse the blog for more free crochet patterns, including seasonal decorations and practical pieces for everyday use.