Harbor Crochet Face Cloth: Free Beginner Pattern
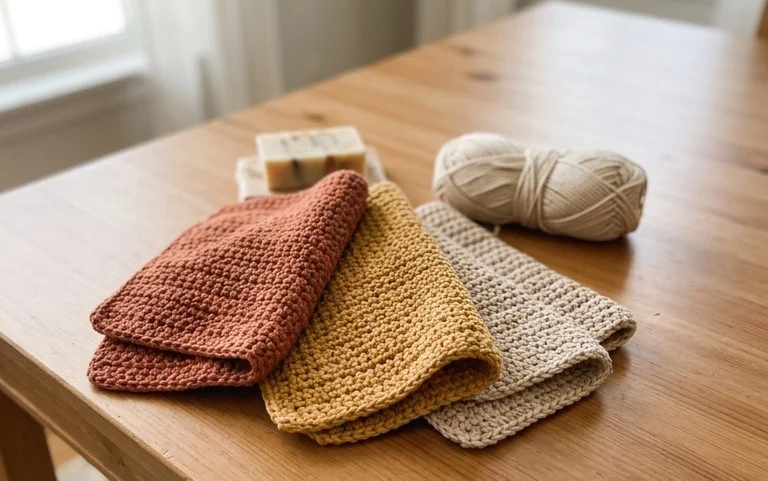
Soft cotton yarn against your skin feels much better than a scratchy washcloth from the store. This simple project creates a sturdy texture with deep ridges that lift away makeup and dirt effortlessly. Beginners will appreciate how the basic stitches form a clean, repeating pattern that builds confidence without requiring complex counting. You only need a single ball of yarn and about an hour of quiet time to finish one. I like to hang these by the bathroom sink to add a touch of handmade warmth to the room. Learning the main stitch repeat provided here will serve you well for future projects, as it creates a dense fabric that lasts for years through regular washing and drying cycles.
Why You’ll Love This Pattern
The Classic Crochet Storage Basket is a reliable staple for any home, designed with thick walls that hold their shape even when filled with craft supplies or toys. Using a sturdy, heavy-weight yarn and a smaller hook than usually recommended for the weight ensures the stitches remain tight and gap-free. This project works up quickly, allowing you to complete a functional piece in a single afternoon. Because it uses simple, repetitive rounds of single crochet, it is a low-stress project that is ideal for practicing consistent tension.
I made three of these for my entryway to hold keys and mail. They hold their shape perfectly and look much more expensive than the yarn cost me.
— Sarah, home organizer
Pattern Overview & Skill Level
- Skill Level: Beginner
- Approximate Time: 2 to 3 hours
- Construction: Worked in continuous rounds from the base outward to the sides
- Finished Dimensions: 8 inches in diameter, 6 inches in height
Materials & Supplies Needed
- Yarn: Super Bulky (#6) cotton cord or thick acrylic yarn, approximately 150 yards.
- Hook Size: 8.0 mm (L-11).
- Notions: Stitch marker to track the beginning of rounds, large-eye tapestry needle for weaving in ends, and sharp scissors.
- Safe yarn substitutions: You may use two strands of Worsted (#4) yarn held together to achieve a similar gauge. If substituting with a thinner yarn, the basket will lose its structure and require a stiffening agent like fabric starch.
Stitch Guide & Abbreviations (US Terms)
- MR = magic ring
- ch = chain
- sc = single crochet
- inc = 2 sc in the same stitch
- sl st = slip stitch
- st/sts = stitch/stitches
- BLO = back loop only: Insert hook under only the back loop of the designated stitch instead of both loops.
Step-by-Step Pattern Instructions
Basket Base
- Rnd 1: Work 6 sc into a MR. Pull tail tight to close the center (6 sts).
- Rnd 2: 2 sc in each st around (12 sts).
- Rnd 3: [1 sc in next st, inc in next st] 6 times (18 sts).
- Rnd 4: [1 sc in next 2 sts, inc in next st] 6 times (24 sts).
- Rnd 5: [1 sc in next 3 sts, inc in next st] 6 times (30 sts).
- Rnd 6: [1 sc in next 4 sts, inc in next st] 6 times (36 sts).
- Rnd 7: [1 sc in next 5 sts, inc in next st] 6 times (42 sts).
Basket Sides
- Rnd 8: Sc in BLO of every st around. This creates a sharp fold for the base (42 sts).
- Rnds 9–18: Sc in both loops of every st around (42 sts).
- Finishing: Sl st into the next stitch to smooth out the edge. Fasten off, leaving a 6-inch tail. Weave the end securely into the interior of the basket using the tapestry needle.
Care & Washing Instructions
- Hand wash in cool water with a mild detergent to prevent the fibers from stretching or pilling.
- Reshape the basket while it is damp and allow it to air dry on a flat surface away from direct sunlight.
- Avoid using a tumble dryer or harsh bleach, as these can permanently damage the structure and color of the yarn.
Pro Tips & Common Mistakes to Avoid
Maintain tight tension throughout the project to ensure the sides stand up on their own without collapsing. Always use a stitch marker at the start of each round to avoid losing your place, as continuous rounds lack a visible seam. When weaving in your ends, run the tail through the inside of several stitches in different directions to ensure the yarn does not pull out with use. If you wish to make a larger basket, simply continue the increase rounds on the base, ensuring you maintain a consistent stitch count increase of 6 stitches per round, and adjust your yarn purchase accordingly.
Frequently Asked Questions
Can I use a different weight of yarn for this pattern?
Yes, you can use thinner yarn, but the basket will be flimsy. If you choose a thinner yarn, consider holding multiple strands together to replicate the thickness of a #6 super bulky yarn.
Is this project suitable for a complete beginner?
This pattern is excellent for beginners. It focuses on the fundamental magic ring, single crochet stitches, and the difference between working in both loops versus the back loop only.
How do I adjust the size of the basket?
To make the base wider, keep adding increase rounds until you reach your desired diameter. To make the basket taller, simply work more rounds of straight single crochet before fastening off.
Can I sell the baskets I make from this pattern?
You are welcome to sell finished items made from this pattern as long as you credit the design. Do not redistribute the digital pattern or claim it as your own work.
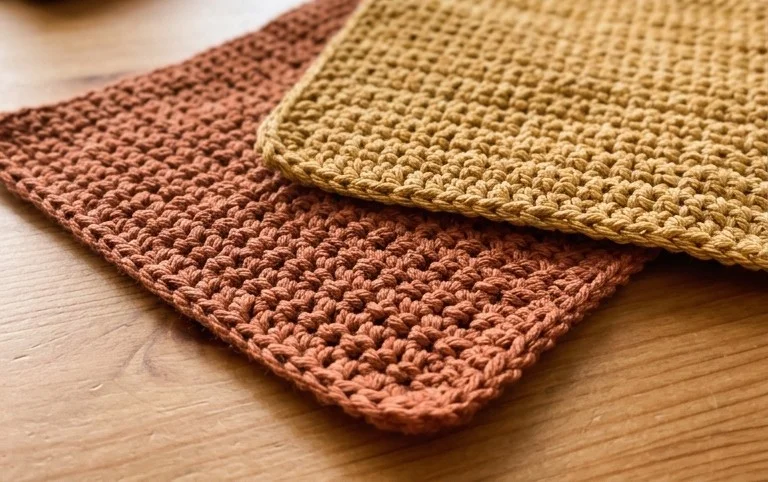
A stack of these fresh, clean cloths makes a simple gift that anyone would appreciate receiving for their home. You can try alternating between two colors every four rows to create a bold, modern striped effect that stands out in your bathroom decor. Please take a photo of your finished work and share it online so we can see your progress. I have many more small project ideas waiting for you on the blog whenever you feel like starting your next creative session.